If you’re thinking about using digital images to create gorgeous doll eyes, there are a few key things you need to consider before you get started!
- Will you design your own irises, or buy them from an artist?
- Will you print them yourself, or use a professional printing service?
Let’s dive into both options so you can get the best results!
Designing Your Own vs. Buying from an Artist 🎨
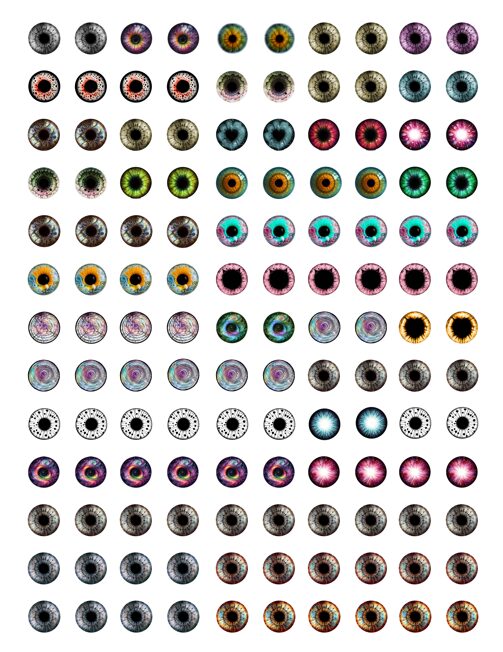
Creating your own digital irises is a rewarding experience, but it does require some graphic design skills. Programs like Adobe Photoshop or similar tools are great for this, though this isn’t a tutorial on how to create them from scratch.
Personally, I’ve been designing my own Blythe eye chip images for over a year, but I still frequently use digital iris designs I’ve purchased from other artists—they’re a great resource!
💡 Buying from an artist? Read the terms!
When purchasing digital designs, make sure you check the usage rights. Some artists allow only personal use, while others permit commercial use—always read the fine print!
One of my favorite sources for digital irises is Bob at 6DogArtsCollage on Etsy. His designs are top-notch, and he even custom-made a few for me, like his Neon Eyes and Heart Pupil Eyes (thanks, Bob!).
📌 Check out his shop here:
👉 6DogArtsCollage on Etsy
Printing Your Irises: The Key to High-Quality Doll Eyes 🖨️
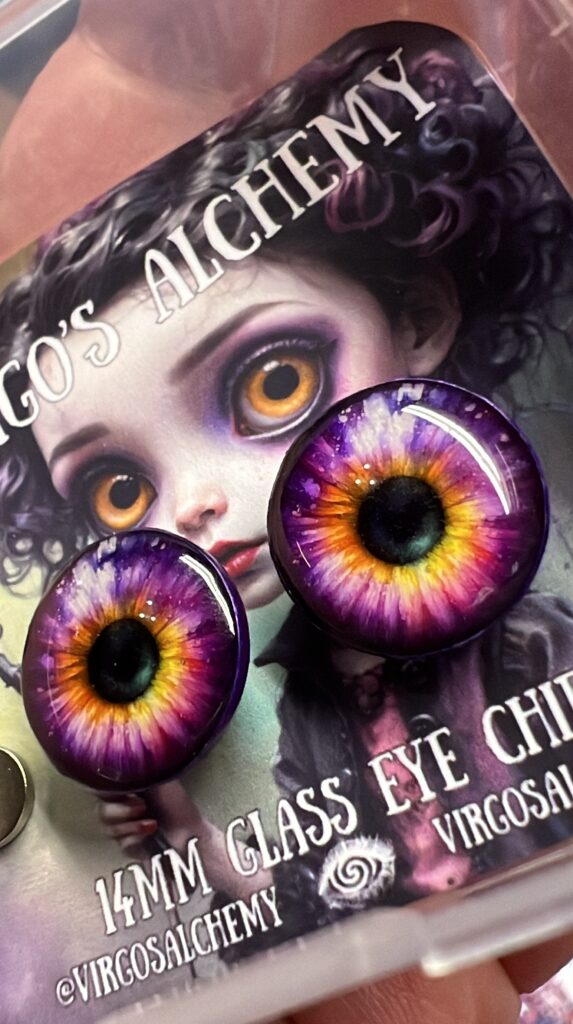
Once you’ve chosen your irises—whether you’ve created them yourself or bought them from an artist—you’ll need to print them in the highest quality possible.
🚨 Why does print quality matter?
If your images are pixelated or low-resolution, those flaws will be magnified 100% once you apply resin—leading to blurry, grainy results.
Most home printers aren’t designed for ultra-high-resolution printing, which can be a challenge. The right printer and paper choice will make all the difference!
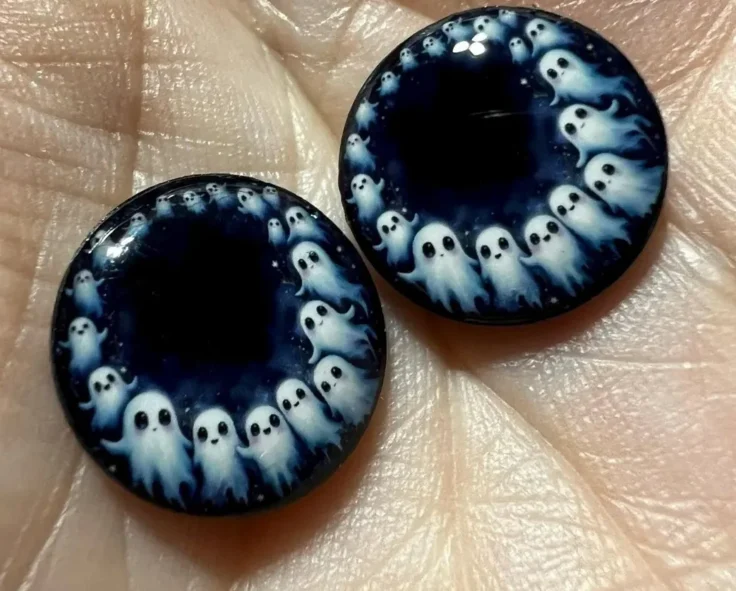
🔍 See the difference: The background image in the photo to the left is one I printed myself, while the eye chips were professionally printed. The clarity of the professionally printed ones is obvious!
Printing at Home: What You Need to Know
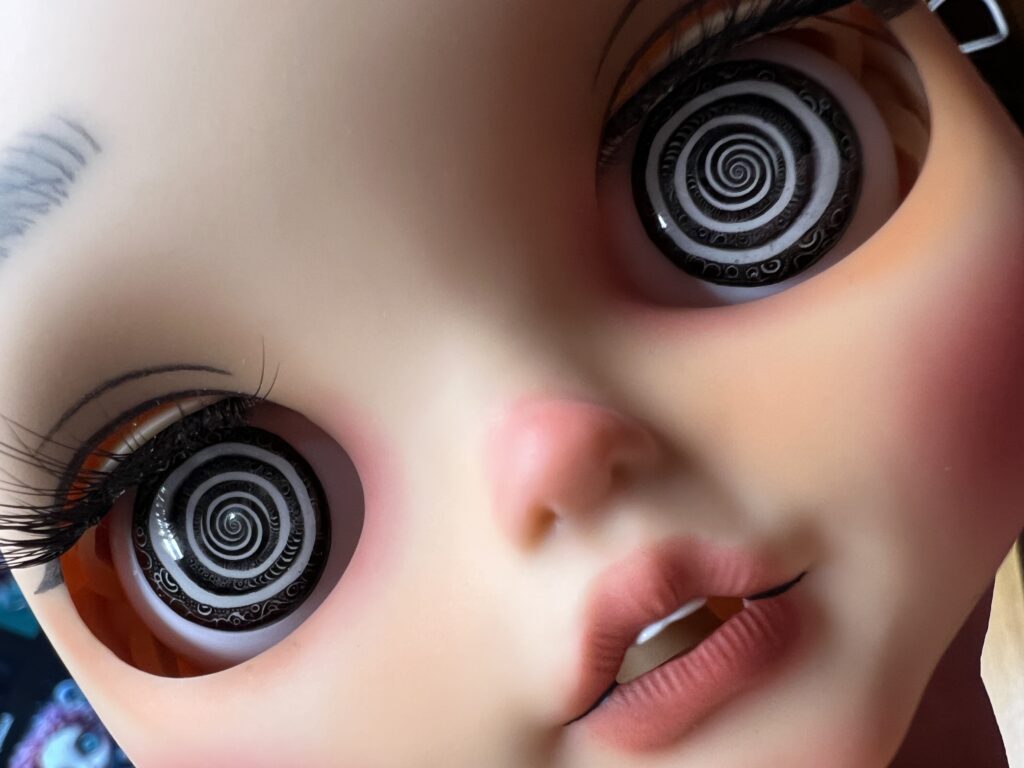
If you are purchasing designs from another artist, my advice, is purchase the largest size images they offer in the design (s) you select. Often, they will sell a sheet full of irises in a 8.5×11 format in 300dpi. If you plan to print them at home, you will need to pull them into a program such as Adobe
If you’re printing your irises yourself, follow these steps for the best results:
1️⃣ Get the highest resolution images available—preferably 300 dpi or higher. Many artists sell iris sheets formatted for 8.5×11″ paper at this resolution. I personally use and prefer 600dpi.
2️⃣ Use Adobe Photoshop (or similar software) to resize them to fit your needs. If you’re working with smaller scales, you may need to carefully scale and arrange them on a full page.
3️⃣ Enable borderless printing and use high-quality photo paper (more on that below).
Even with a good printer, achieving perfect clarity can be tricky. I’ve seen artists charge high prices for resin eyes that still have fuzzy prints, and personally, I think they should be crystal clear for what they cost!
Make Printing Easier with a Pro Service! 🏆
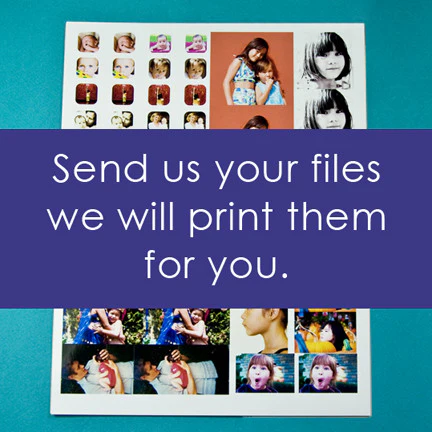
For five years, I’ve been recommending Little-Windows.com—not just for their amazing 2-Part Epoxy Resin, but also for their professional printing services!
💡 Why use Little-Windows Pro Printing Service?
- Convenience
- Quality
- Value
Let’s Break these Points Down below!
- They resize your files for you (for a one-time fee).
- They ensure the highest resolution and quality prints possible.
- Their white photo paper is archival, acid-free, and perfect for both Epoxy and UV Resin.
✨ Get 15% off! Click here or use my code VIRGOS15 at checkout!
📌 Little-Windows Printing Service
Once your file is sized correctly, you can order prints anytime you need more! They’ve even printed my irises as small as 1.3mm—and they came out crystal clear!
👀 Fun Fact: A full 8.5×11″ sheet of irises will last you a LONG time!
Final Tips for Perfect Digital Irises
✅ Bigger is better—Always start with high-resolution images before shrinking them down.
✅ Use the right paper—Little-Windows offers photo papers and films perfect for resin applications.
✅ Check out my YouTube tutorials for more tips on printing and making stunning doll eyes!
Happy Eye Making! 🩷👁️✨



 Resin Eye Molds: Selecting the Right Mold for the Job
 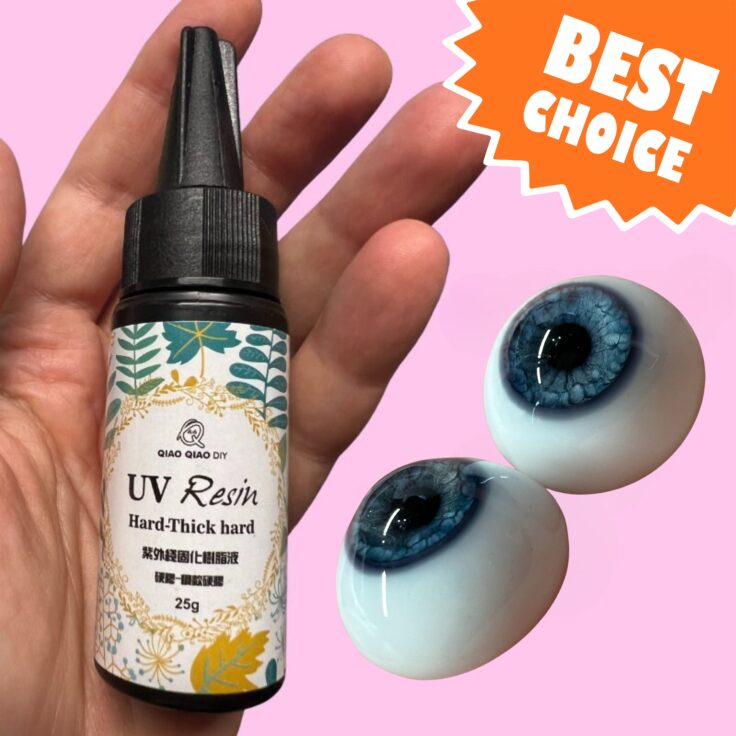 Qiao Qiao DIY UV Resin Products!
Leave a Reply